社区微信群开通啦,扫一扫抢先加入社区官方微信群

社区微信群
本文所用环境:
服务端系统:windows 10
nginx版本:1.16.1
vue-cli版本:4.1.2
直接上步骤:
vue.config.js的outputDir字段。vue.config.js的publicPath字段实现。完整的vue.config.js文件代码:
module.exports = {
    publicPath: process.env.NODE_ENV === 'production' ? '/huzhenv5/' : '/', // 输出的index.html引入的资源路径前面增加/huzhenv5
    outputDir: 'huzhenv5', // 打包输出的文件夹名
    indexPath: 'index.html',
    // 开发时,代理后台接口的配置
    devServer: {
        // 设置默认端口
        port: 8080,
        // 默认打开浏览器
        open: false,
        proxy: {
            '/api': {
                // 目标 API 地址
                target: 'http://localhost:9801', // 真实的api地址
                // 如果要代理 websockets
                // ws: true,
                // 将主机标头的原点更改为目标URL
                changeOrigin: true,
                pathRewrite: {
                    '^/api': ''
                }
            }
        }
    }
}
npm run build打包工程,工程根目录自动生成huzhenv5文件夹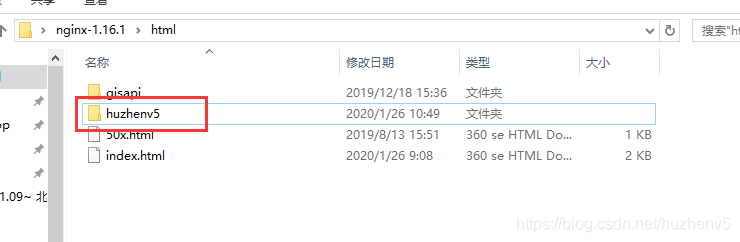
server {
    listen   8091; #nginx监听的端口
    server_name  localhost; #安装nginx的服务器的ip

    location /huzhenv5/ {
        root   html;
        index  index.html index.htm;
        try_files $uri $uri/ /huzhenv5/index.html;
    }

    location /api/ {
        proxy_pass    http://localhost:9801; #前端http请求转发的地址
        rewrite ^/api/(.*)$ /$1 break;
    }
}
http://localhost:8091/huzhenv5/index.html如果觉得我的文章对您有用,请随意打赏。你的支持将鼓励我继续创作!
